
Automation rules
Automatic rules that act on tickets — assign, label, change status, close — based on conditions you set.
Rules automate repetitive steps. Instead of sorting and assigning every ticket by hand, you let Elvo do it. Each rule checks a ticket when it arrives (or changes) and performs an action if the conditions are met.
How a rule works
Every rule is a simple equation: condition → action.
- Condition — when the rule should fire. E.g. "subject contains invoice", "ticket arrived by
email", "sender's domain is
@samskip.is", "outside opening hours is yes", or a combination of conditions. - Action — what should happen. E.g. assign to a team or person, change status, add or remove tags, or close the ticket.
A single rule can have multiple conditions and multiple actions.
Create a rule
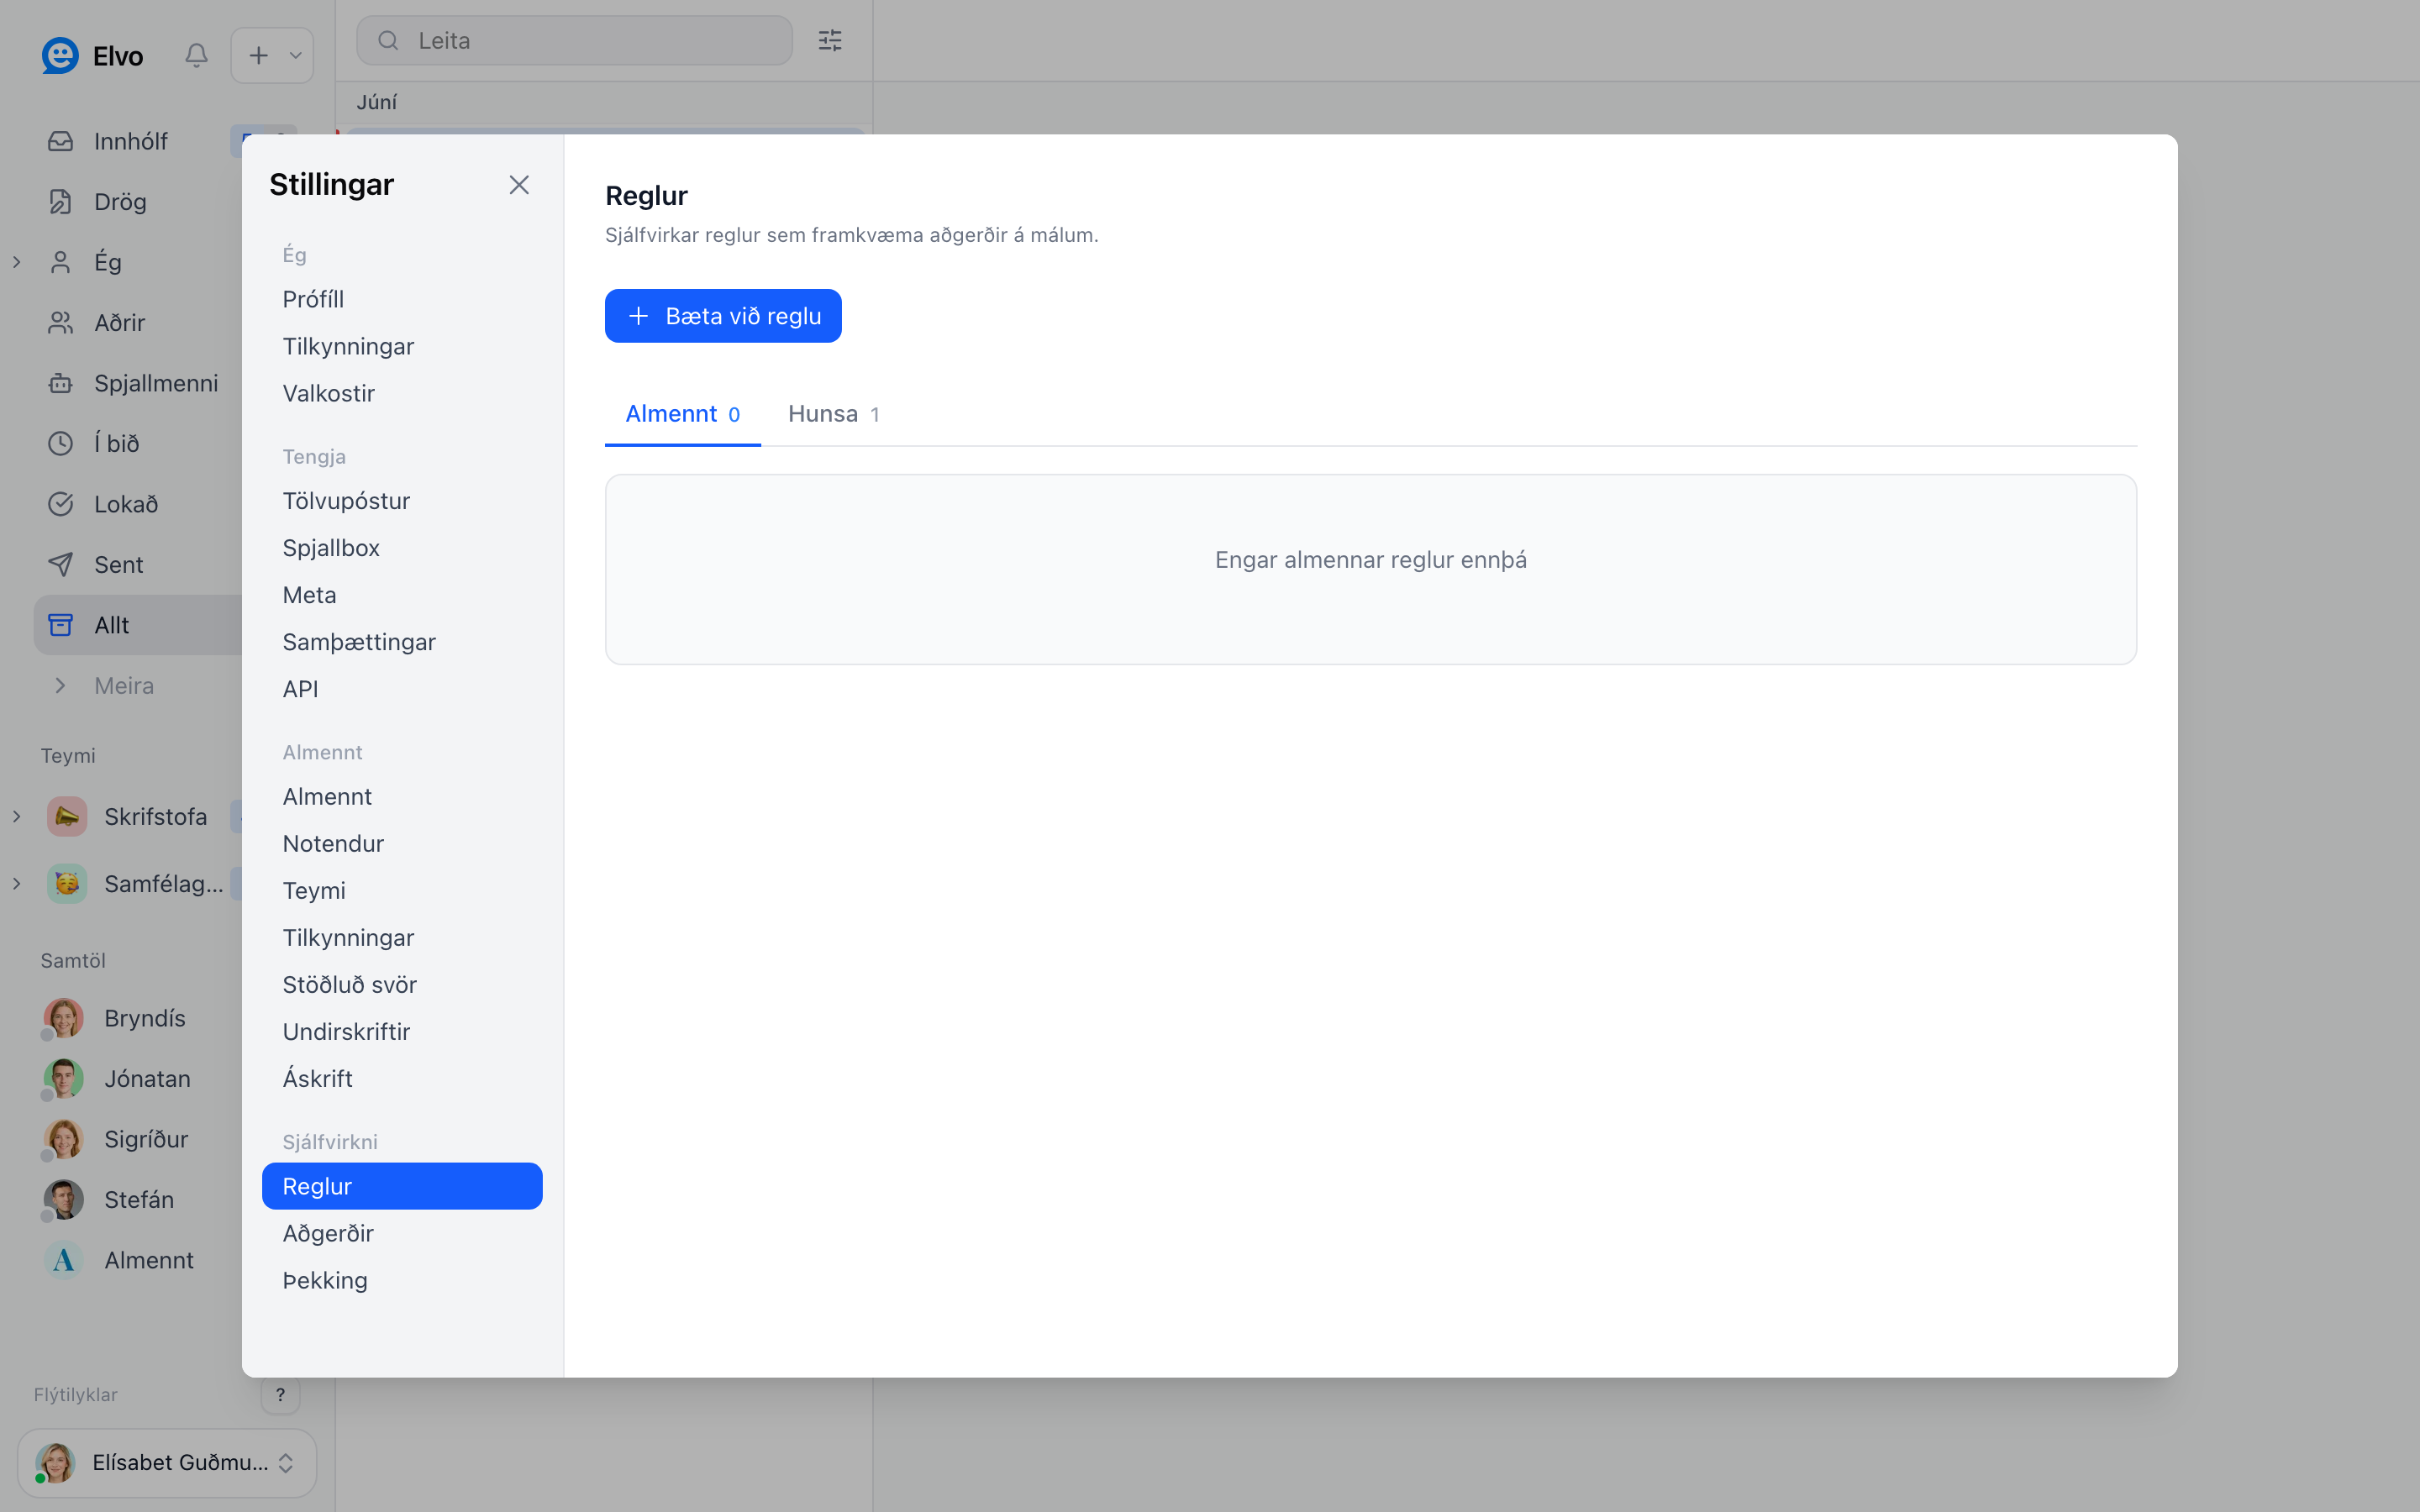
- Open Settings → Rules and click Add rule.
- Choose the conditions that trigger the rule.
- Choose the actions that should run.
- Save. The rule takes effect immediately on new tickets.
Rules are ordered and run top to bottom, so the order can matter.
Useful rule examples
- Route by content — tickets containing "order" go automatically to the fulfilment team.
- Prioritize key customers — tickets from certain domains get a label and move to the front.
- Close automated notifications — confirmation and system emails are marked read and closed immediately so they don't clutter the inbox.
- Out-of-hours reply — condition Outside opening hours is Yes, action Send auto-reply. Every email or chat that arrives while you are closed (evenings, weekends, and any gap you have set such as lunch) gets your fixed note about opening hours. The opening hours themselves live under Settings → Organization → Opening hours, where each day can have more than one interval, e.g. 09:00–12:00 and 13:00–17:00 to close the chat over lunch. An organization without opening hours is never "outside" them, so the rule does nothing until hours are set.
Tip
Start with one or two simple rules and add more as you notice which steps keep repeating.
FAQ
Can rules send replies to customers? Yes — e.g. an automatic acknowledgement. Use it sparingly so replies don't feel robotic. An auto-reply is sent once per conversation, on the first message only, and never in reply to another auto-responder.
Do rules apply to live chat? Yes. Rules run on the first message of a chat conversation too, with the channel condition set to Chat agent. Actions that make no sense for a visitor who is waiting live (spam, snooze, archive, email forwarding) are skipped for chats; auto-reply, tags, assignment and status apply.
What if two rules conflict? They run in order top to bottom; the top rule wins if they touch the same action.